Overview[]
The tutorial is a map in Unturned 3.0. It is where new players learn the basics of Unturned. It can be accessed by pressing the "tutorial" button within the "play" section in the main menu.
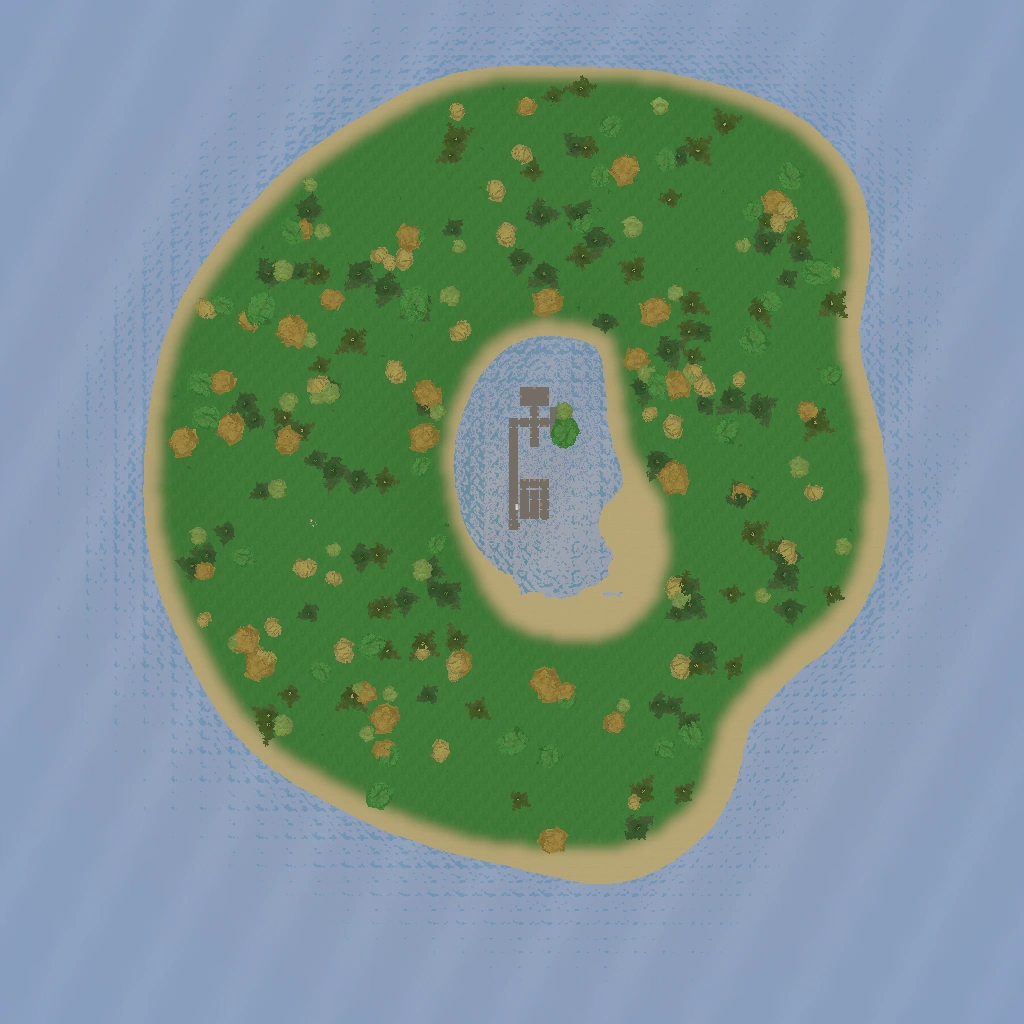
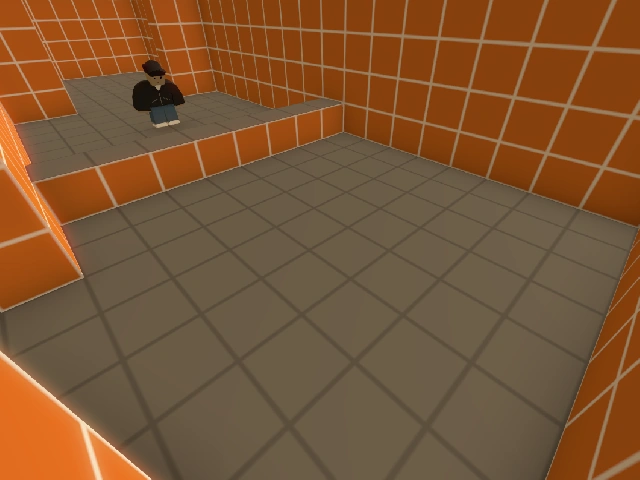
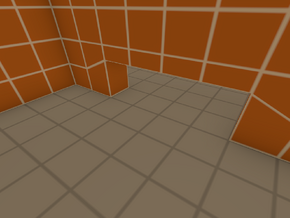
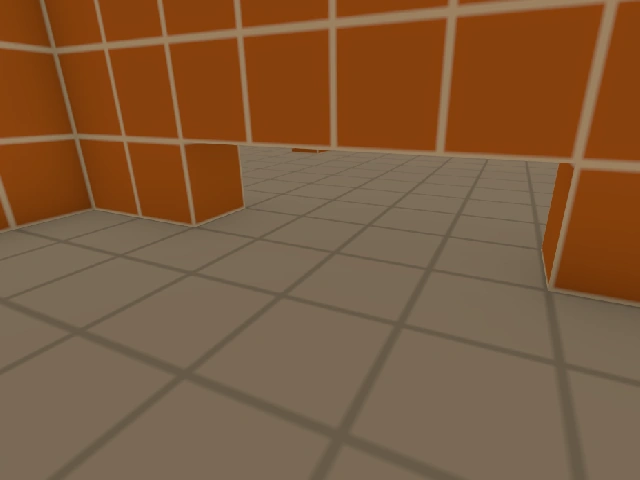
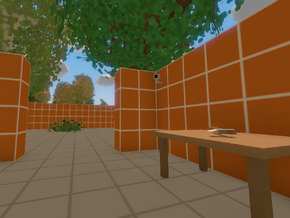
The map itself is made of orange and gray tiles, likely a reference to the placeholder texture map developers use. The map has 11 sections; 3 of which are optional.
Section 1: Jumping[]
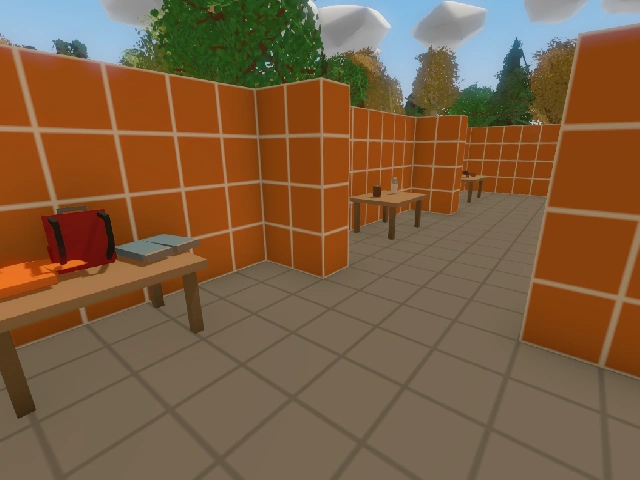
Section 2: Gearing Up[]
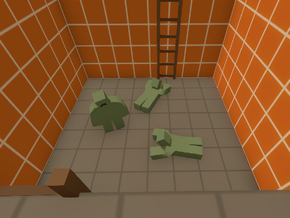
Section 3: Shooting[]

Section 4: Reloading[]
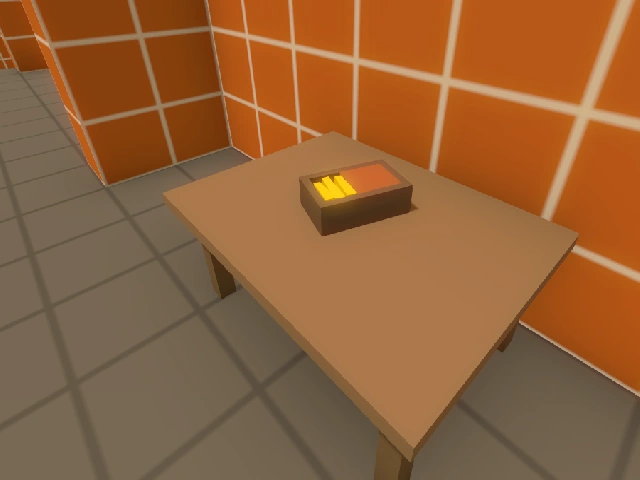

Climb down the ladder once the zombies are dead and up the other ladder again. There you will find a table with a Low Caliber Ranger Ammunition Box to refill your magazine. Do this by pressing T and clicking the bullets icon. Then go into your crafting menu by pressing Y (default bind). Once you're in the crafting table, go into the RELOAD section and refill your magazine.
Section 5: Swimming[]

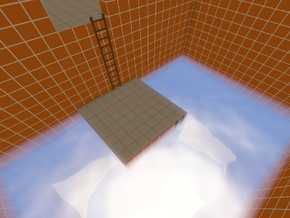
Once you reloaded, climb down the ladder and you will find yourself in a flooded basement. Swim down the path and you will find a ladder that is leading to the surface. You can swim using WASD and ascend to the surface by holding SPACE. There will be medical items on the surface if you are hurt.
Section 6: Driving[]

There will be a police car, a gas can, and a Gas Tank in the other room. Refill the car by equipping the gas can by clicking the gas tank while the gas can is in your hand. Once you do that, you will hear a liquidy sound. If you heard that, that means the can is full. Now while holding the can, click the police car. You will hear a liquidy sound. If you heard that, that means you refilled the car. If it stops refilling, that means that either the can or the car is full.
Now that you refilled it, you can hop in it by pressing "F" and drive down the path using WASD. You can turn on your headlights using RIGHT MOUSE BUTTON, honk your horn with LEFT MOUSE BUTTON, and CTRL to turn on your sirens. Note that the sirens do not apply to all cars.
Section 7: Crouching[]
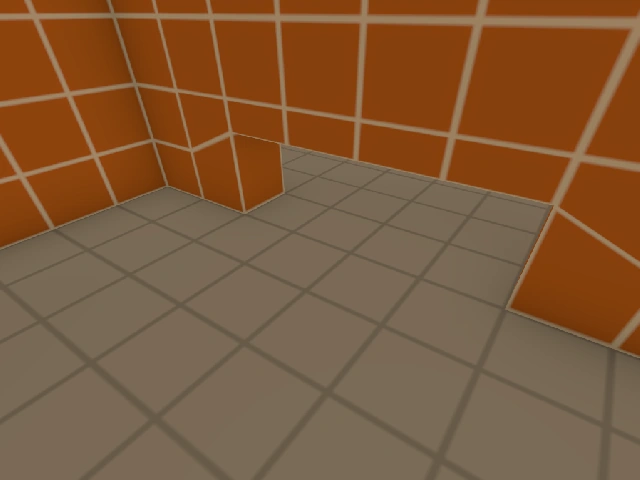
Get out of the car and you will find yourself in a room with a hole. Bypass the hole by pressing the X button to crouch and walk under the hole.
Section 8: Crawling[]

Optional Section: Fishing[]

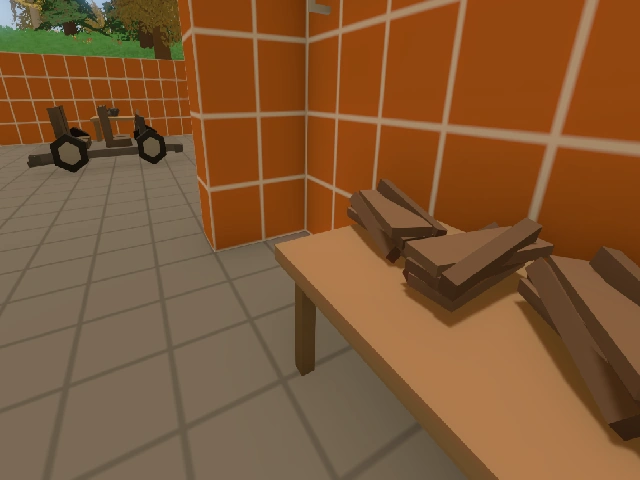
Optional Section: Foresting[]
Optional Section: Building[]

Trivia[]
- Upon completing the tutorial, you will get The Graduation Hat.
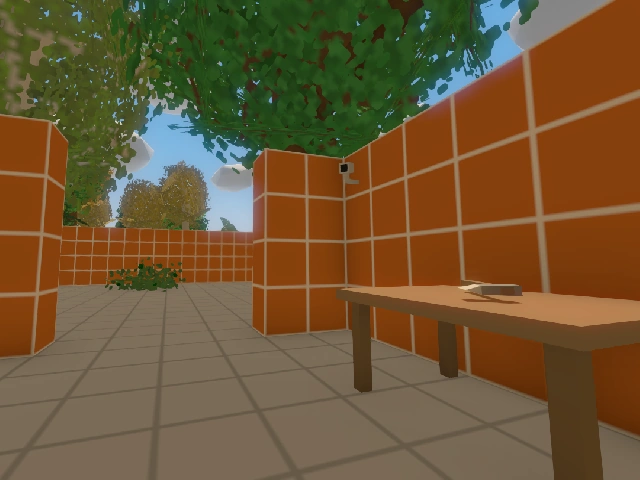
- There is an easter egg outside of the tutorial. To get outside, place the generator on the table and then place the planter on top of the generator. Climb on top of the planter and then jump out of the tutorial. Alternatively, you can climb on the car in the driving section and jump out. Then swim to the shore and walk to the radio tower in the distance. There you will find a computer as well as a note that reads "Gone for lunch!"
- There are cameras in each section. Perhaps the person who is watching you through the cameras is gone for lunch...
- The zombies drop items upon death. (unconfirmed)
- It is possible for night to fall while playing the tutorial map. Simply wait for a while and then the sun will go down. Note, full moon CAN occur.
- You can still spawn in items on singleplayer by entering @give (playername)/(itemID)/(amount) in chat.
- It can be hosted as a multiplayer map.
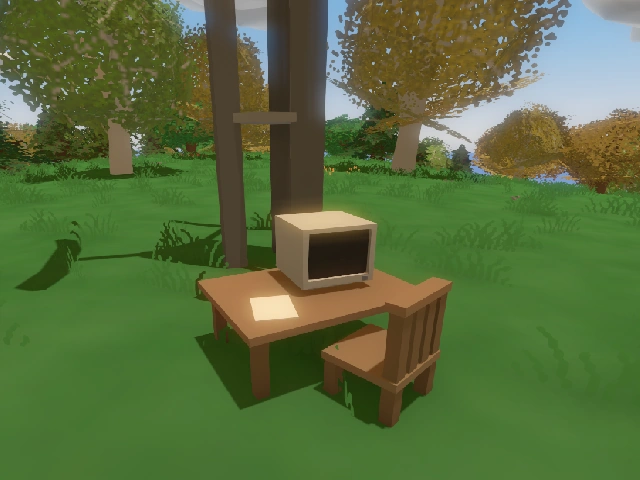
The computer with the note along with the radio tower.
| Playable Maps | |||||||||||||||||||||||||||||||||||||||||||||||||||||||||||||||||||||||||||||||||||||||||||||||||||
| Survival | Germany • PEI • Russia • Washington • Yukon | ||||||||||||||||||||||||||||||||||||||||||||||||||||||||||||||||||||||||||||||||||||||||||||||||||
| Curated | A6 Polaris • Antarctica • Arid • Belgium • Buak • California • Carpat • Cyprus Survival • Easter Island • Elver • France • Greece • Hawaii • Ireland • Kuwait • Rio de Janeiro | ||||||||||||||||||||||||||||||||||||||||||||||||||||||||||||||||||||||||||||||||||||||||||||||||||
| Removed | Canada • Festive Germany • Festive Russia • PEI (Festive • Halloween • Space) | ||||||||||||||||||||||||||||||||||||||||||||||||||||||||||||||||||||||||||||||||||||||||||||||||||
| Arena | Alpha Valley • Monolith • Paintball Arena • PEI Arena • Washington Arena | ||||||||||||||||||||||||||||||||||||||||||||||||||||||||||||||||||||||||||||||||||||||||||||||||||
| Curated | Athens Arena • Bunker Arena • Canyon Arena • Cyprus Arena | ||||||||||||||||||||||||||||||||||||||||||||||||||||||||||||||||||||||||||||||||||||||||||||||||||
| Tutorial | Tutorial | ||||||||||||||||||||||||||||||||||||||||||||||||||||||||||||||||||||||||||||||||||||||||||||||||||
| Curated Deathmatch | Dango | ||||||||||||||||||||||||||||||||||||||||||||||||||||||||||||||||||||||||||||||||||||||||||||||||||
| Miscellaneous | Destruction • Devtest • Devtest 2 • Devtest3 • Devtest4 • Flatgrass • largetest | ||||||||||||||||||||||||||||||||||||||||||||||||||||||||||||||||||||||||||||||||||||||||||||||||||
The Tutorial is a map in Unturned. As the name suggests, it is a map where beginners learn the basics of the game. This map can be accessed by clicking the "Tutorial" button, which is above the "singleplayer" button.
The world itself is a white-coloured place enclosed by white walls, roof and floor. The place consists of 4 sections; Section 1 (Moving and crouching), Section 2 (Jumping and crawling), Section 3 (Combat and items) and Section 4 (Driving and disconnecting).
Section 1 (Moving and crouching)[]

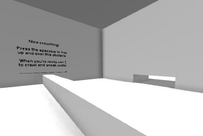
Crouch into the hole in order to enter Section 2.
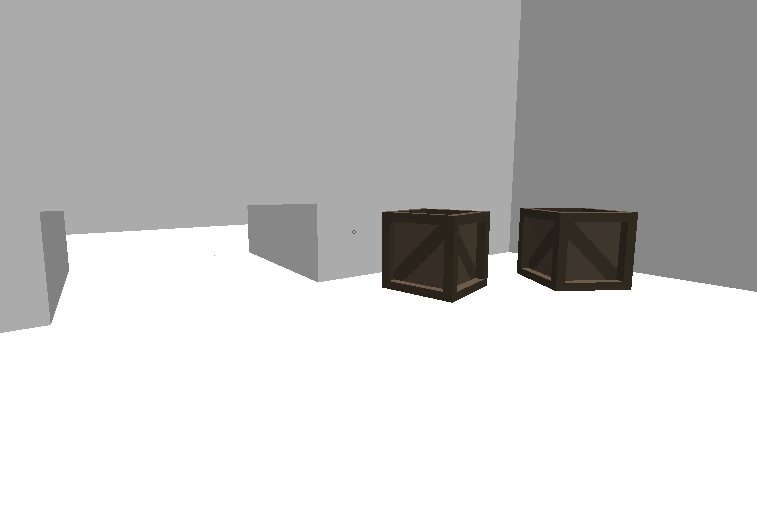
After you're spawned in, you're in a room which has some crates present, a cylinder and a wall of text which is infront of you. The bunch of words is telling you about how to move using the WASD keys. Clicking those keys will cause the player to move whatever direction depending on the key you press.
Half of the text tells you to crouch into a hole (right side of the text) by pressing the 'X' key.
Section 2 (Jumping and crawling)[]

Hop 'n crawl.
Unlike the first section, it does not have any decoration except a bunch of words and an obstacle.
Section 3 (Combat and items)[]
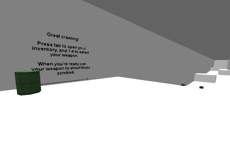
If you look at the text with a green cylinder near it, it tells you to go and kill some zombies, which are down the ladder. Equip the Zubeknakov by pressing the '1' key, which the map gave you along with 5 rags and 1 splint.
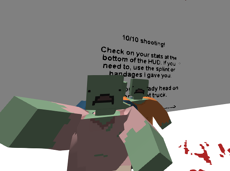
"10/10 shooting!"
- Section 3 second text.
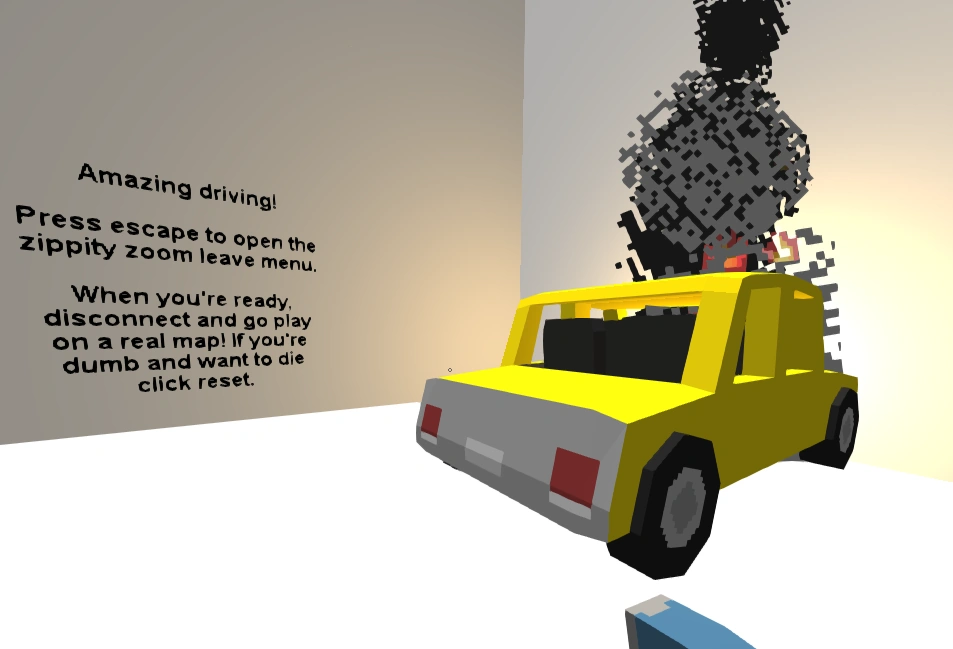
Section 4 (Driving and disconnecting)[]
Before you celebrate, you need to drive either a Car, a Van, or a Truck. The text tells you about the basics of driving a vehicle (Driving, lights and honking). During your short trip, you have to dodge 3 obstacles until you crash into the dead end. The last bunch of text asked you to disconnect out of the world. Now celebrate your first victory, plus you will get an achievement as a reward!

Trivia[]
- The tutorial is the third map to be added.
- It is the smallest map in the game.
- It is the only map which cannot be played on multiplayer.
- It is possible to get more items by reseting many times, but you aren't capable of holding a lot of items.
- If you wait longer, zombies will respawn after you killed them.
- You can farm experience in order to upgrade your skills, even though they aren't needed.
- You can use the vehicle to jump onto the obstacles.
- Zombies might drop items upon death.
- Due to having fewer features, the game runs much faster than other maps.
- The achievement "Graduate" can be achieved by completing the tutorial (start to the end).
- Even if you change your controls for the game, the text on the tutorial will not change and it will tell the player the game's default controls rather than the custom controls the player has on.
- If you edit your inventory or spawn a PEI map, it will indicate you are at Taylor Beach, just like on the Arena map.
Achievement[]
Gallery[]
")
")
")
")
")
")
")
")
")